OpenLayersを使ってみる。[Chapter 30]
OpenLayersのMap Class Propertiesについて-3[Chapter 29] に引き続き、OpenLayersのMap Class Propertiesについての基本を学んでおきます。
OpenLayers 2.10 Beginner's Guideなる書籍の章立てにあわせて、OpenLayersの使い方を学んでいきます。
OpenLayers Mapについての詳細は、OpenLayers.Map を参考にしてください。
Map class properties
ここでは、Map classのよく使うpropertiesについて学んでいきます。すべてのpropertiesについては、
OpenLayers.Map を参考にしてください。
Map propteries
OpenLayersのMap Class Propertiesについて-3[Chapter 29] に引き続き、OpenLayersのMap Class Propertiesについて引き続き、Map propertiesを学びます。
scales
scales: {Array}
map表示のscaleを定義します。
注意点として、scalesを使用する場合、minResolution、maxResolution、minScale、maxScale、numZoomLevels、minExtentあるいはresolution propertyと一緒に使用しないでください。
また、使用した場合は、scalesは無視されます。
さらに、投影法の単位が「度」以外の場合は、unit propertyを指定しなければなりません。
maxScale
maxScale : {Float}
maxScaleは、maxResolutionと同様なpropertyです。したがって、maxResolutionとの併用はできません。
minScale
minScale : {Float}
minScaleは、minxResolutionと同様なpropertyです。したがって、minResolutionとの併用はできません。
ここで、上記のpropertiesを使ってexample codeを実行してみましょう。
min & max Scale example code
Map propertyの min & max scaleについてのexample codeです。
example codeは、以下のcodeを入力します。
保存先は、c:¥ms4w¥apache¥htdocs¥openlayers2_12¥chapter8¥にしておきます。
ファイル名は、chapter8_ex2_scales.htmlで保存します。
[html]
<!DOCTYPE html>
<html lang=’ja’>
<head>
<meta charset=’utf-8′ />
<script type=’text/javascript’ src=’http://localhost/openlayers/OpenLayers.js’></script>
<script type=’text/javascript’>
var map;
function init() {
//Create a map with an empty array of controls
map = new OpenLayers.Map(‘map_element’, {
controls : [
new OpenLayers.Control.Navigation(),
new OpenLayers.Control.PanZoomBar(),
new OpenLayers.Control.LayerSwitcher()],
maxScale : 27683990.15625,
minScale : 221471921.25
});
//Create a base layer
var wms_layer_all = new OpenLayers.Layer.WMS(
‘OpenLayers WMS’,
‘http://vmap0.tiles.osgeo.org/wms/vmap0′, {
layers : ‘basic’
}, {});
map.addLayers([wms_layer_all]);
if (!map.getCenter()) {
map.zoomToMaxExtent();
}
}
</script>
</head>
<body onload=’init();’>
<div id=’map_element’ style=’width: 500px; height: 500px;’></div>
<div id=’layer_switcher_control’></div>
</body>
</html>
[/html]
順に上記codeを見ていきましょう。
まずは、Map objectの作成を行います。
//Create a map with an empty array of controls
map = new OpenLayers.Map('map_element', {
	controls : [
		new OpenLayers.Control.Navigation(),
		new OpenLayers.Control.PanZoomBar(),
		new OpenLayers.Control.LayerSwitcher()],
	maxScale : 27683990.15625,
	minScale : 221471921.25
});
maxScaleとmaxScaleを設定しています。
次にlayerを作成します。
//Create a base layer
var wms_layer_all = new OpenLayers.Layer.WMS(
	'OpenLayers WMS',
	'http://vmap0.tiles.osgeo.org/wms/vmap0', {
	layers : 'basic'
}, {});

map.addLayers([wms_layer_all]);
WMS layerを作成して、addLayersでmapに追加します。
保存後、FireFoxを立ち上げて、http://localhost/openlayers2_12/chapter8/chapter8_ex2_scales.htmlと入力すると、

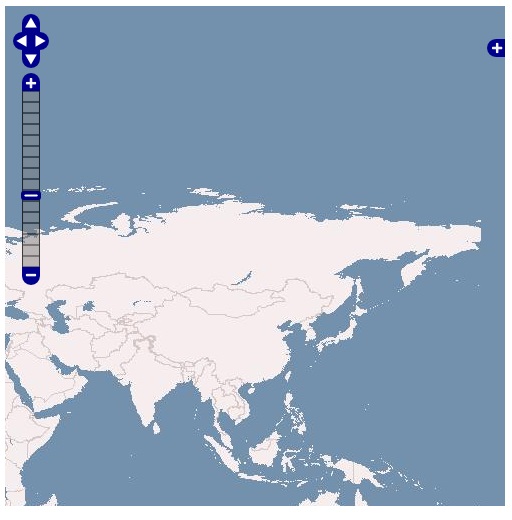
でMapが表示されます。この例では、numZoomLevelsが16区分されています。
次に、scales arrayで与えるように修正して、
//Create a map with an empty array of controls
map = new OpenLayers.Map('map_element', {
	controls : [
		new OpenLayers.Control.Navigation(),
		new OpenLayers.Control.PanZoomBar(),
		new OpenLayers.Control.LayerSwitcher()],
	scales : [
		55367980.3125,
		27683990.15625,
		13841995.078125,
		6920997.5390625]
});
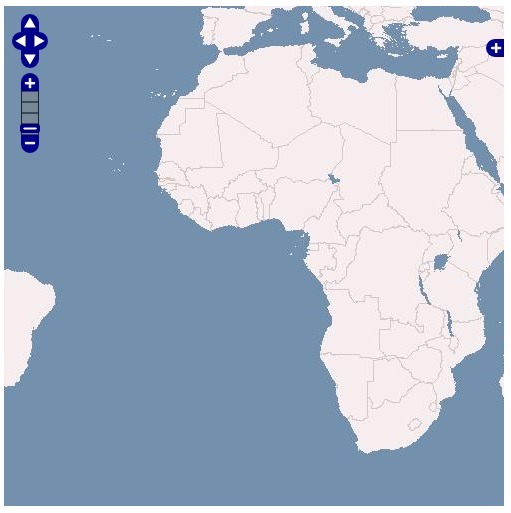
のようにnumZoomLevelsが4区分で表示されます。
今回のまとめ
OpenLayersのMap class propertyの基本について概要を学びました。
今回はscaleを使いました。次回も引き続き、Map class propertyについて学んでいきます。
また、本tutorialは、htmlやCSSやJavaScriptの基本的なことはある程度理解している前提で今後も話を進めていきます。また、誤字、脱字、spell間違いや勘違いも多々出てくると考えられます。
それは違うじゃん!!とかいろんな意見をいただければと思います。
そこんところ ヨロシク~~!!


最近のコメント