MapServer6.0.3とGeoServer2.2をCentos6.4にインストールして、mapservとphp_mapscript、GeoServerの動作確認をしてみました。
CentOS6.4にMapServer6.0.3をインストールする手順
基本的には、CentOS6.2の時と同じです。
なるべく簡単に、package管理のyumを使っていきます。また、Applicationのversionは全体的にCentOSは古いのですが、あえて枯れた技術を採用することにしています。
【OS】
CentOS 6.4 i686 32bit対象
【アプリケーション】
Apache 2.2.15
PHP 5.3.3
Python 2.6.6
MapServer 6.0.3
PostgreSQL 8.4.13
PostGIS 4.8
【導入ライブラリ類】
GD
GIF,PNG,JPEG,Cairo
Libicu
Xerces 3.1.1
Geos 3.2.2
PROJ 4.8
GDAL/OGR 1.9.2
■CentOS6.4のインストール
まずは、CentOSのDVD-ISOイメージをCentOS-6.4-i386-bin-DVD1.isoをダウンロードしてインストールします。今回は32bit versionを使います。
基本的には、Desktopとその他開発と開発ライブラリは導入しておいてください。Centos6.4のインストールについては、各自で導入してください。
■Apachの追加インストール
# yum -y install httpd httpd-devel
■PHPの追加インストール
# yum -y install php php-mbstring php-mcrypt php-pgsql php-devel php-gd
とここで、php-mcryptがインストールできないとエラー表示されます。特に問題は無いのですので、今回はphp-mcryptをインストールしません。もしinstallする場合は、MapServer6.0.1 on CentOS6.2を参考にしてください。
■GDのインストール
# yum -y install gd gd-devel
■GIF,PNG,JPEG,Cairoのインストール
# yum -y install giflib giflib-devel
# yum -y install libpng libpng-devel
# yum -y install libjpeg libjpeg-devel
# yum -y install cairo*
■LIbicuのインストール
# yum -y install libicu libicu-devel
■Xercesのインストール
# wget http://ftp.riken.jp/net/apache//xerces/c/3/sources/xerces-c-3.1.1.tar.gz
# tar zxvf xerces-c-3.1.1.tar.gz
# cd xerces-c-3.1.1
# ./configure --prefix=/usr/local/
# make
# make install
# /sbin/ldconfig -v
■geosのインストール
# wget http://download.osgeo.org/geos/geos-3.2.2.tar.bz2
# tar jxvf geos-3.2.2.tar.bz2
# cd geos-3.2.2
# ./configure --prefix=/usr/local/
# make
# make install
# /sbin/ldconfig -v
■PROJのインストール
# wget http://download.osgeo.org/proj/proj-4.8.0.tar.gz
# tar zxvf proj-4.8.0.tar.gz
# cd proj-4.8.0
# ./configure --prefix=/usr/local/
# make
# make install
# /sbin/ldconfig -v
■PostgreSQLのインストール
PostgreSQLの8.4.13をインストールします。
#yum -y install postgresql postgresql-server postgresql-libs postgresql-devel
■PostGISをインストール
# wget http://postgis.refractions.net/download/postgis-1.5.3.tar.gz
# tar zxvf postgis-1.5.3.tar.gz
# cd postgis-1.5.3
# ./configure \
--with-geos=/usr/local/bin/geos-config \
--with-pgconfig=/usr/bin/pg_config \
--with-proj=/usr/local \
--with-proj-libdir=/usr/local/lib
# make
# make install
■Python関連を一括インストール
# yum -y install python*
途中いくつかエラーが出ますが、無視します。
■GDAL/OGRをインストール
追加パッケージを導入 (導入済であれば不要)
# yum -y install curl curl-devel unixODBC unixODBC-devel
GDAL/OGRダウンロード
# wget http://download.osgeo.org/gdal/gdal-1.9.2.tar.gz
# tar zxvf gdal-1.9.2.tar.gz
# cd gdal-1.9.2
# ./configure \
--with-libtiff=internal \
--with-pg \
--with-pymoddir=/usr/lib/python2.6/site-packages \
--with-python \
--with-xerces=/usr/local/ \
--with-odbc \
--with-geos=/usr/local/bin/geos-config
# make
# make install
■MapServerをインストールする
追加パッケージを導入 (導入済ならば不要)
# yum -y install freetype freetype-devel
MapServer6.0.3のダウンロード
Readme.condigureを一読しておいてください。
今回はせっかくなので、kmlとcairo関連が使えるようにconfigrationしました。
–with- はいろいろ設定できますので、Readme.condigureは必ず目を通しておいた方が良いですね。
# wget http://download.osgeo.org/mapserver/mapserver-6.0.3.tar.gz
# tar zxvf mapserver-6.0.3.tar.gz
# cd mapserver-6.0.3
# ./configure \
--with-tiff \
--with-zlib \
--with-jpeg \
--with-cairo \
--with-freetype \
--with-gd \
--with-geos \
--with-postgis=/usr/bin/pg_config \
--with-proj \
--with-sos \
--with-threads \
--with-wcs \
--with-wfs \
--with-kml \
--with-wfsclient \
--with-wmsclient \
--with-wmsserver \
--with-gdal=/usr/local/bin/gdal-config \
--with-ogr=/usr/local/bin/gdal-config \
--with-agg \
--with-php=/usr/include/php \
--with-httpd=/usr/sbin/httpd
# make
セットアップ
イントーラーは付属しないので、手動で/usr/local/binにコピーする
# cp legend mapserv mapserver-config msencrypt scalebar shp2img shp2mysql.pl shptree shptreetst shptreevis sortshp tile4ms /usr/local/bin
■mapservモジュール確認
# /usr/local/bin/mapserv -v
/usr/local/bin/mapserv: error while loading shared libraries: libproj.so.0: cannot open shared object file: No such file or directory
というエラーが出るので、Libraryの追加をします。(必ず出ます。)
# echo '/usr/local/lib' > /etc/ld.so.conf.d/mapserver.conf
# /sbin/ldconfig -v
再度、モジュール確認
# /usr/local/bin/mapserv -v

MapServer version 6.0.3 OUTPUT=GIF OUTPUT=PNG OUTPUT=JPEG OUTPUT=KML SUPPORTS=PROJ SUPPORTS=AGG SUPPORTS=CAIRO SUPPORTS=FREETYPE SUPPORTS=ICONV SUPPORTS=WMS_SERVER SUPPORTS=WMS_CLIENT SUPPORTS=WFS_SERVER SUPPORTS=WFS_CLIENT SUPPORTS=WCS_SERVER SUPPORTS=SOS_SERVER SUPPORTS=THREADS SUPPORTS=GEOS INPUT=POSTGIS INPUT=OGR INPUT=GDAL INPUT=SHAPEFILEMapServer version 6.0.3 OUTPUT=GIF OUTPUT=PNG OUTPUT=JPEG OUTPUT=KML SUPPORTS=PROJ SUPPORTS=AGG SUPPORTS=CAIRO SUPPORTS=FREETYPE SUPPORTS=ICONV SUPPORTS=WMS_SERVER SUPPORTS=WMS_CLIENT SUPPORTS=WFS_SERVER SUPPORTS=WFS_CLIENT SUPPORTS=WCS_SERVER SUPPORTS=SOS_SERVER SUPPORTS=THREADS SUPPORTS=GEOS INPUT=POSTGIS INPUT=OGR INPUT=GDAL INPUT=SHAPEFILE
とりあえずOK
mapservをcgiディレクトリにもコピー
#cp ./mapserv /var/www/cgi-bin/
■php_mapscriptをインストール
php_mapscript.so をインストールするパスを確認して、コピーする。
# php-config --extension-dir
# cp ./mapscript/php/php_mapscript.so /usr/lib/php/modules/
コピーしただけでは、scriptがloadされないので、下記のようにphp_mapscript.so の読み込みを設定する。
# echo 'extension=php_mapscript.so' > /etc/php.d/mapscript.ini
# service httpd reload
■php_mapscriptモジュール確認
# php --ri mapscript

MapScript

MapServer Version => MapServer version 6.0.3 OUTPUT=GIF OUTPUT=PNG OUTPUT=JPEG OUTPUT=KML SUPPORTS=PROJ SUPPORTS=AGG SUPPORTS=CAIRO SUPPORTS=FREETYPE SUPPORTS=ICONV SUPPORTS=WMS_SERVER SUPPORTS=WMS_CLIENT SUPPORTS=WFS_SERVER SUPPORTS=WFS_CLIENT SUPPORTS=WCS_SERVER SUPPORTS=SOS_SERVER SUPPORTS=THREADS SUPPORTS=GEOS INPUT=POSTGIS INPUT=OGR INPUT=GDAL INPUT=SHAPEFILE
PHP MapScript Version => ($Revision$ $Date$)
と表示されていれば、とりあえずOK
■.phtmlの認識の追加
phtml拡張子がついたphpファイルをブラウザーで表示できるようにしておきます。
これをやっておかないと、*.phtmlがそのままscriptで表示されます。
/etc/httpd/conf.d/php.confの修正
下記の3行のように修正します。
AddHandler php5-script .php .php3 .php4 .php5 .phtml
AddType text/html .php .phtml
DirectoryIndex index.php index.phtml
修正後に、httpdを再起動しておきます。
# /etc/init.d/httpd restart
これだけでは、インストールしただけなので、Demoとphp_mapscriptを動かしてみます。
■mapserv(cgi)の動作確認
まずは、MapServerのdemoをダウンロードします。現在のversionは5.4です。
解凍後、公開しているDirectory(以下ここでは、 /var/www/html とします。)に一式copyします。
次に、/var/www/htmlにtmp Directoryを作成して、ownerとgroupを変更しておきます。
# mkdir /var/www/html/tmp
# chown -R apache. /var/www/html/tmp
demoのDirectoryはworkshop-5.4です。
Directory構成は下記のようになっています。
var -- www -- html -- workshop-5.4
                   |
                   +- tmp
すぐにでも表示させたいところですが、workshop-5.4/index.htmlを一部修正します。
修正後のindex.htmlです。/var/www/html/とcgi-binの場所の修正とmapserv54をmapservに変更します。
<html> <head> <title>MapServer Itasca Application</title> <script language="javascript"> function configure() { var template = document.demo.template.options[document.demo.template.selectedIndex].value; var snippet = " TEMPLATE " + template; document.demo.map_web.value = snippet; if(template.indexOf("frame") != -1) document.demo.action = "frames.html"; if(template.indexOf("dhtml") != -1) document.demo.action = "frames_dhtml.html"; } </script> </head> <body bgcolor="#FFFFFF"> <center><h2>MapServer Itasca Application (ms v6.0.3)</h2></center> <p><hr><p> This demonstration application will take you through various levels of complexity. Starting with a basic application that allows a user to pan/zoom and change layers we add: <ul> <li> dynamically configured scalebars <li> javascript-based panning <li> query results to a frame <li> and finally, a DHTML rubber-band zoom/query capabilty </ul> The base data is the old-reliable Itasca dataset that we know and love... <!-- EDIT THE FORM ACTION --> <form name="demo" method="GET" action="/cgi-bin/mapserv" onSubmit="configure()"> <input type="hidden" name="layer" value="lakespy2"> <input type="hidden" name="layer" value="dlgstln2"> <input type="hidden" name="zoomsize" value=2> <input type="hidden" name="map_web" value=""> <!-- EDIT THESE HIDDEN VARIABLES --> <input type="hidden" name="map" value="/var/www/html/workshop-5.4/itasca.map"> <input type="hidden" name="program" value="/cgi-bin/mapserv"> <input type="hidden" name="root" value="/workshop-5.4"> <select name="template" size="1"> <option value="itasca_basic.html"> Basic Application <option value="itasca_adds_scalebar.html"> -- Adds second scalebar <option value="itasca_adds_pan.html"> -- Adds pan controls <option value="itasca_adds_frames.html"> -- Adds frames <option value="itasca_adds_dhtml.html"> -- Adds dhtml rubber-band box </select> <input type="submit" value="Initialize"></center> </form> <p><hr> <table width="100%"><tr><td align="right">This site running MapServer v. 6.0.3</td></tr></table> </body> </html>
workshop-5.4/itasca.mapの確認をしておきます。
下記のIMAGEPATHが自分の環境に合っているかの確認をしてください。もし違っていたら修正してください。
※ これは結構重要なことです。
# change the next two lines to match your setup
    IMAGEPATH "/var/www/html/tmp/"
    IMAGEURL "/tmp/"
これでやっと、mapを表示することができます。
ブラウザにmapを表示
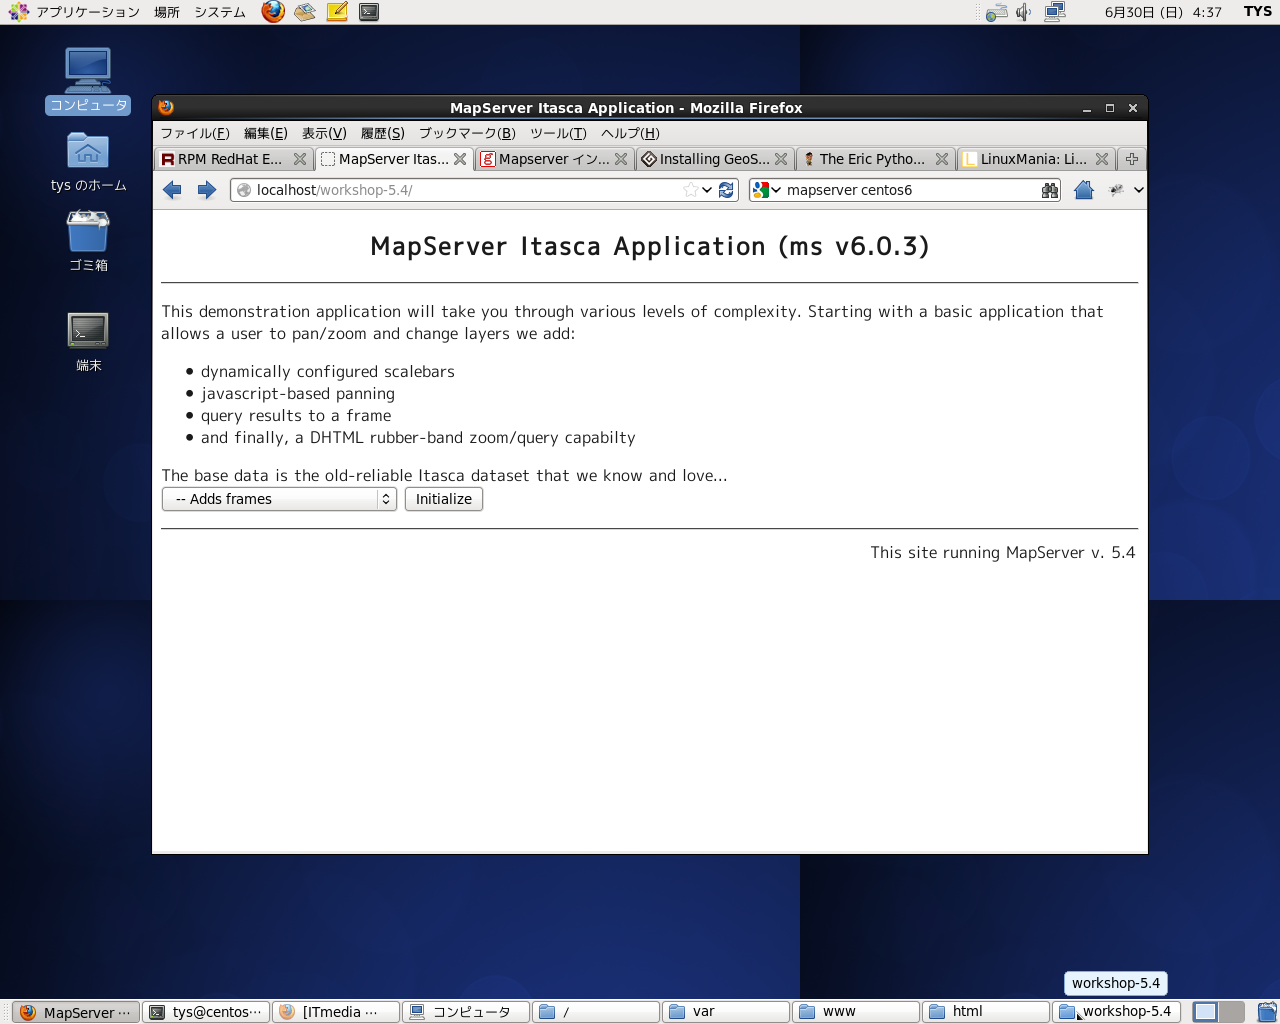
ブラウザでhttp://localhost/workshop-5.4/と入力して確認すると
下図のように表示されます。

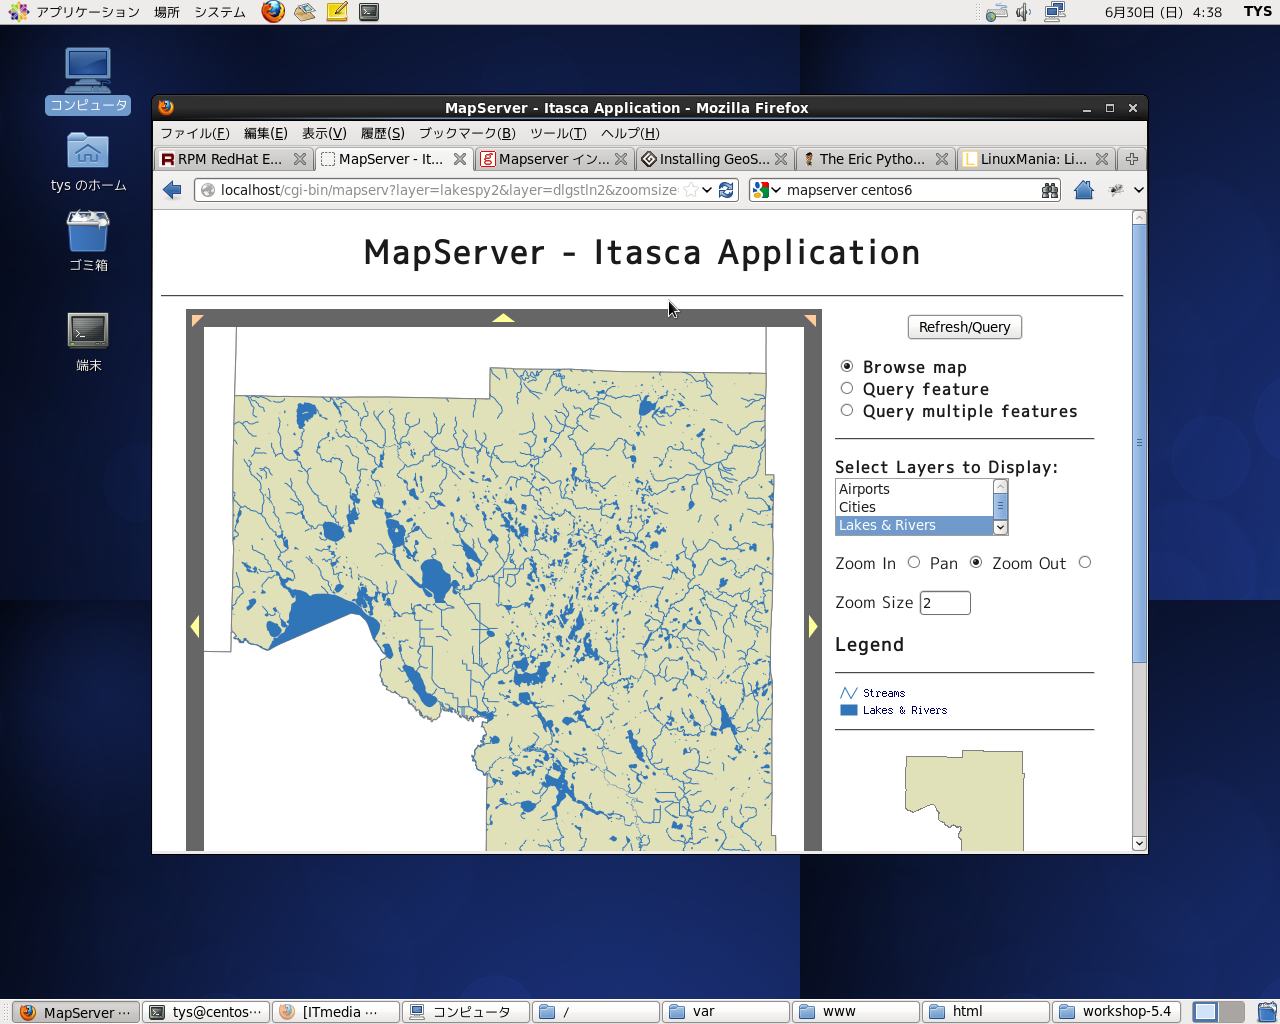
次に、Basic applicationを選択して、initializedボタンをクリックすると
mapが表示されます。

これで無事にMapServer6.0.3のインストールとテストが終了しました。
GeoServerのinstall
次に、GeoServerをinstallします。
Install方法は、Installing GeoServer on CentOS and Red Hatを参考にします。
root権限で作業を行います。
# cd /etc/yum.repos.d
# wget http://yum.opengeo.org/suite/v3/centos/6/i686/OpenGeo.repo
# yum install opengeo-geoserver
これで、時間がかかりますが、とりあえずGeoServerがinstallされます。
依存ファイルでproj,geosのinstallするようですが、特にMapServerとの共存には問題ないようです。
GeoServerの起動
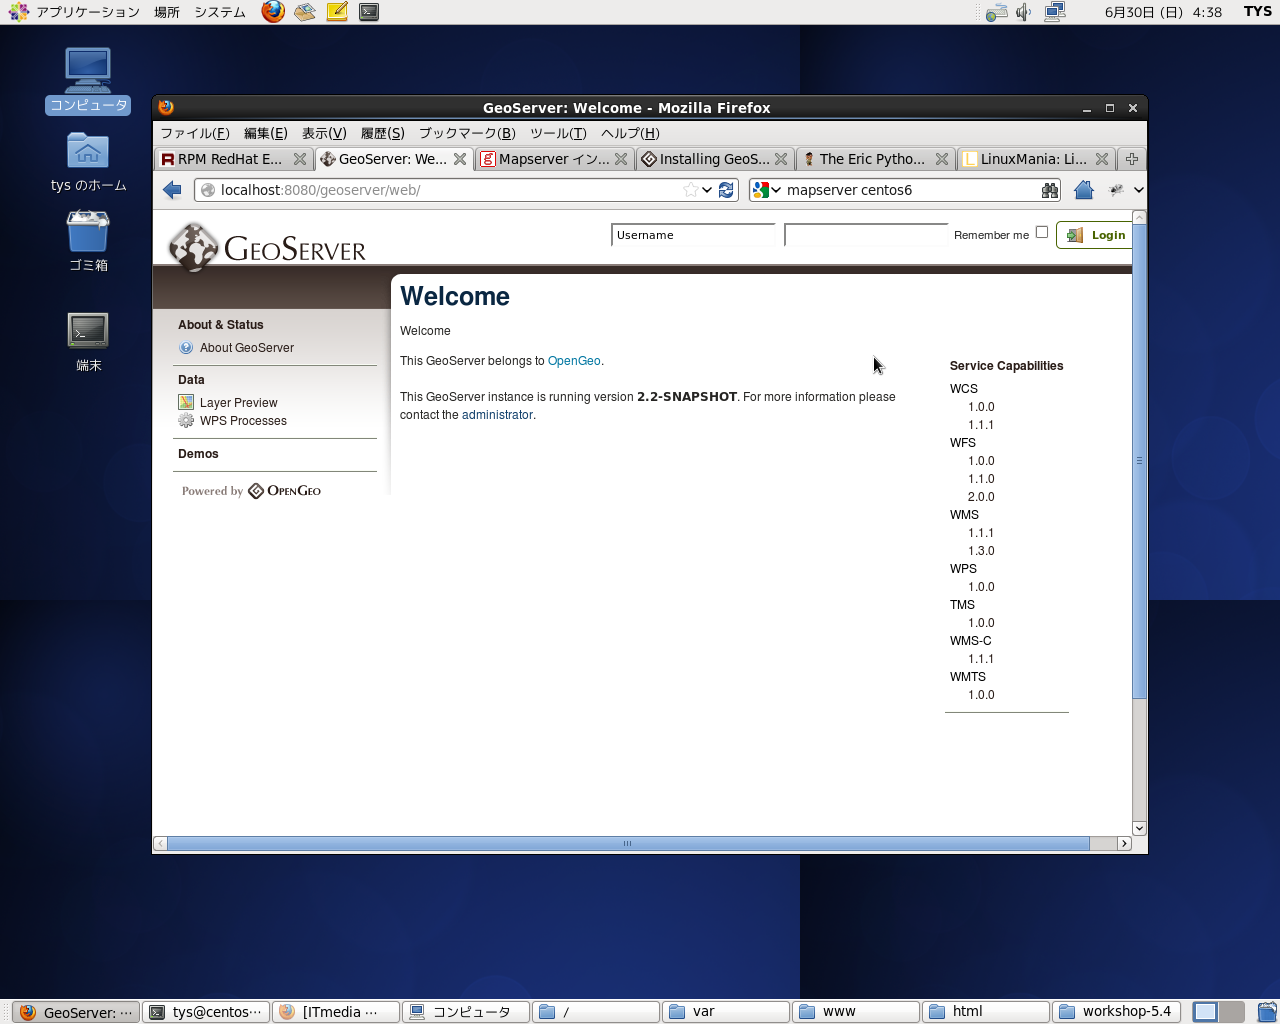
http://localhost:8080/geoserver
でGeoServerが起動します。
user: admin
password: geoserver
でlogin できます。
基本的な操作については、まだ途中ですが、GeoServer Tutorialを参考にしてください。
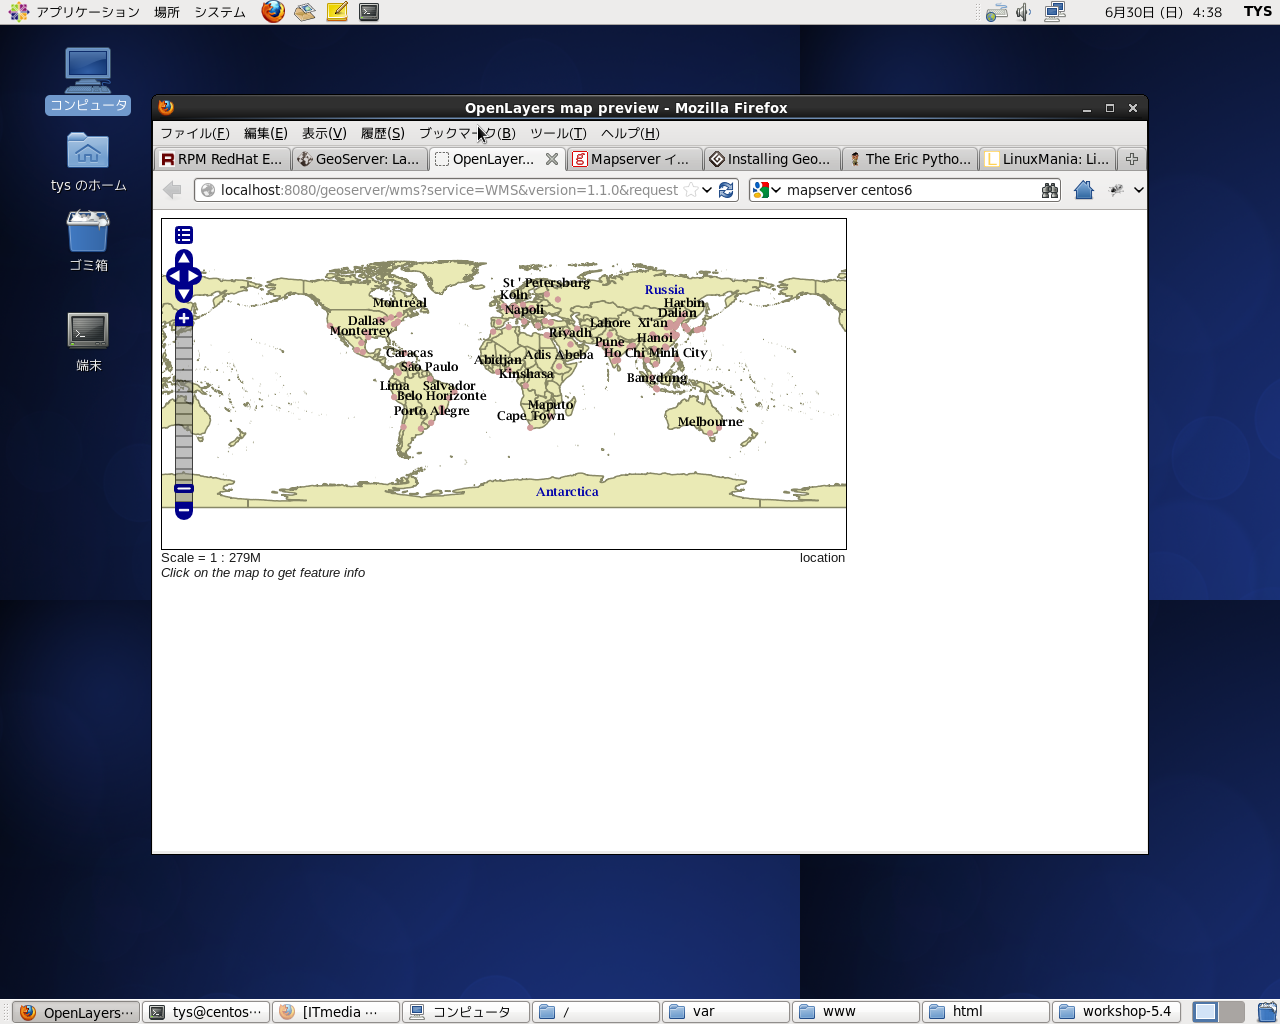
な感じでGeoServerが起動して、Layer Previewで適当なLayerを選択して、OpenLayersで表示させると

OpenLayersでmapが表示されます。
これで無事にGeoServer2.2のインストールとテストが終了しました。
今回のまとめ
MapServer6.0.3とGeoServer2.2をCentOSのパッケージ管理yumを多用してinstallしました。
とりあえずは、利用環境が整ったので、この環境に若干のapplication類をinstallして開発用machineにしてみたいと思います。


最近のコメント